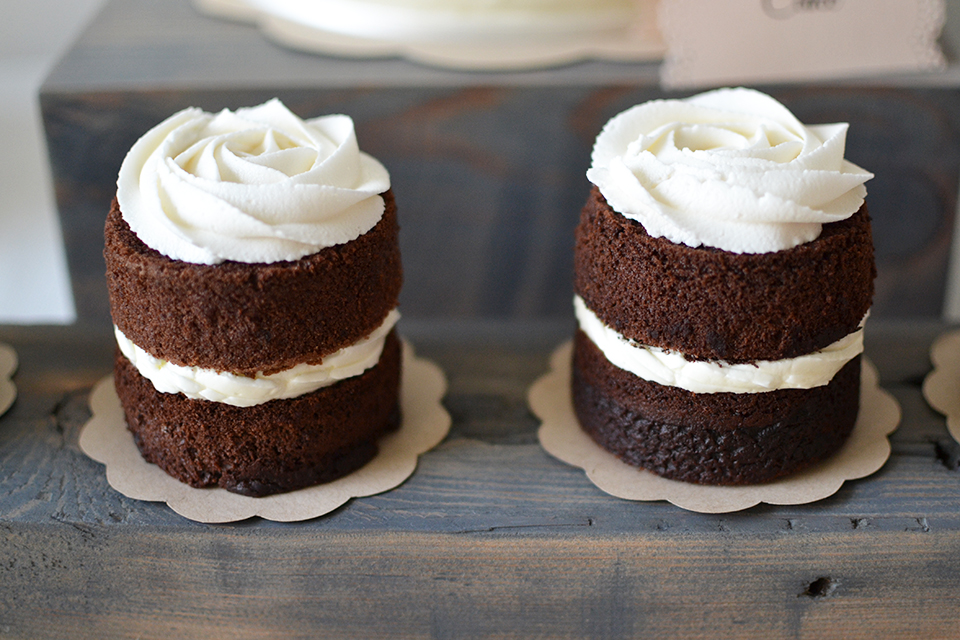
Mini Rose Cakes
We love making mini cakes. They're a perfect size for each guest to enjoy. When making these Mini Rose Cakes, we left cake exposed to add a small amount rustic flair. We piped a pretty rose design in-between layer's, and on top, fitting the Rustic Experience perfectly.
Recipes
For The Mini Rose Cakes
Tools
Used For The Mini Rose Cakes
The perfect knife to get even layers of cake
For easy piping
Perfect for mini cakes
Perfect size for mini cakes
Great for piping
Tips
For The Mini Rose Cakes
Bake your cakes in 3-inch cake pans. Check the cake for doneness at 20 minutes, and then check every 2-3 minutes until a toothpick comes out clean. Let cake cool, and then cut into 1-inch layers. Using the 1M piping tip, make a rose swirl on one layer of cake, stack with the second layer, and finish with one more rose swirl
For a rose swirl tutorial, check out I Am Baker
Presentation
Ideas For The Mini Rose Cakes
We placed our dessert onto a scalloped piece of cardstock paper that we printed. Download the scallop template here
We used cardstock by Paper Source for the scallop template. Paper Source offers a wide range of color options, so feel free to choose any color that works for you
Display your desserts on a wooden dessert slab or rectangular plate of choice. Check out Sur La Table's Blanc Rectangular Platters as a good option that we use for various desserts and dessert tables
A simple printable dessert label can go a long way to completing the presentation. We offer free printable dessert labels, along with the rest of the Rustic Experience Printables, that you can download here. We recommend using cover weight paper which you can find at Paper-Source. We used Luxe Blush Cover Paper from Paper Source for these printables. We also used a Doily Lace Edge Puncher from Paper Source to add embellishments to our dessert labels
comments powered by Disqus

