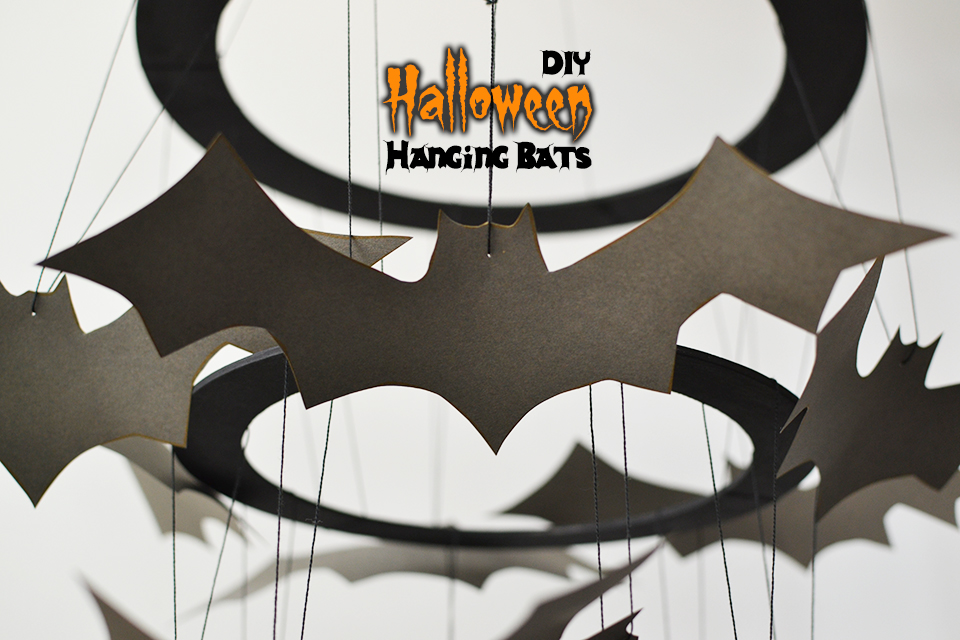
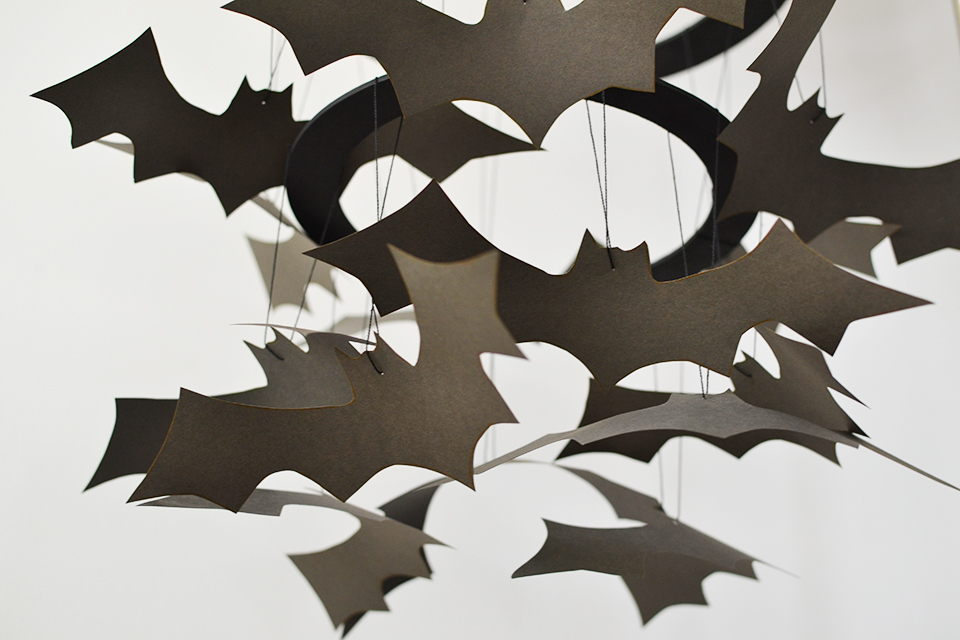
Halloween is right around the corner, which means you're going to need some spooky decorations to set the mood this October 31st. And since bats, with their nocturnal nature and generally creepy demeanor, fit in perfectly as Halloween-inspired decorations, we put together these step-by-step instructions for you to make your own Halloween Hanging Bats as you get ready for this upcoming All Hallows' Eve. These are also part of our
Halloween Party Inspiration, so if you're looking for other Halloween ideas,
get inspired here.
Halloween Hanging Bats Tutorial Supplies
Craft Paint
Sponge for painting
Needle
Black Embroidery String
Scissors
Measuring Tape
Halloween Hanging Bats Tutorial Step-By-Step Instructions
1) Paint wreath forms in the black craft paint and let dry completely.
2) While the wreaths are drying, cut out 16 bats using the template provided in black cardstock. Set them aside.
3) Cut three long pieces of the embroidery thread. We cut our thread into 25 inch pieces, but you may need them longer or shorter depending on where you want to hang the bats. Tie each piece to a spot on the large black wreath form. When you are done securing each piece of thread, hold all three pieces at the top and tie a knot, making sure that the wreath is level.
4) Next cut a piece of thread about 15 inches long. Insert the thread into the needle.
5) Poke the needle through the center part of the bats head.
6) Attach the bat to the wreath by just tying a knot. Make sure you space them out.
7) Repeat steps 4-6, attaching 8 bats total to the large black wreath form. At this point it's easier to attach the bats while hanging the wreath up somewhere or having someone hold it for you.
8) Next, cut 3 pieces of embroidery thread to 17 inches long. Place the small black wreath underneath the large black wreath. To connect the two wreaths, place the thread underneath the small black wreath and pull the thread up and over the large wreath and make a knot. You want to make sure that each thread is the same length so that your small wreath is level.
9) Next, cut four 10-inch pieces of embroidery thread and four 13 inch pieces of thread. Repeat step 5-6 to attach the bats to the small wreath. Alternating between the 10 and 13 inch length sizes of the embroidery thread. At this point it's easier to attach the bats while hanging the wreath up somewhere or having someone hold it for you.
Halloween Hanging Bat Tutorial Sweet Notes
If knot tying is not your thing, purchase some black craft tape and tape the string to the wreath form and to the bats
You can attach the small wreath to the large wreath before adding any of the bats if that seems easier to you. There is really no wrong way of making the hanging bats
Feel free to make different colored bats and different lengths if you choose. Get creative with it


